EuroTec
Samba Member

Joined: August 24, 2020
Posts: 382
Location: Asheville, North Carolina

|
 Posted: Thu Mar 30, 2023 7:26 pm Post subject: Re: Dropping the VR6 oil pan -- half shaft removal? Posted: Thu Mar 30, 2023 7:26 pm Post subject: Re: Dropping the VR6 oil pan -- half shaft removal? |
 |
|
Well done sir!
_________________
If it ain't broke, don't fix it! |
|
VanGeek
Samba Member
Joined: September 25, 2022
Posts: 229
Location: New England

|
 Posted: Sun Apr 02, 2023 11:09 am Post subject: Re: Dropping the VR6 oil pan -- half shaft removal? Posted: Sun Apr 02, 2023 11:09 am Post subject: Re: Dropping the VR6 oil pan -- half shaft removal? |
 |
|
DONE! A few key learnings summarized here in hopes they will be helpful to someone else.
- I really don't see a way to drop the pan without removing the right side half-shaft and shaft.
- You'll need a long allen wrench with a ball-end to properly access the bolt heads and remove and reinstall them.
- I spent a lot of time cleaning the old rtv and some carbon deposits off the pan and engine. No quick fix for that. Takes time. I cleaned both surfaces a few times with brake cleaner and wiped with a soft cloth before reassembly.
- Before installing the pan, practice-practice-practice test fitting the pan. See my prior post. This is very challenging -- especially difficult to install without smudging the fresh bead of sealant.
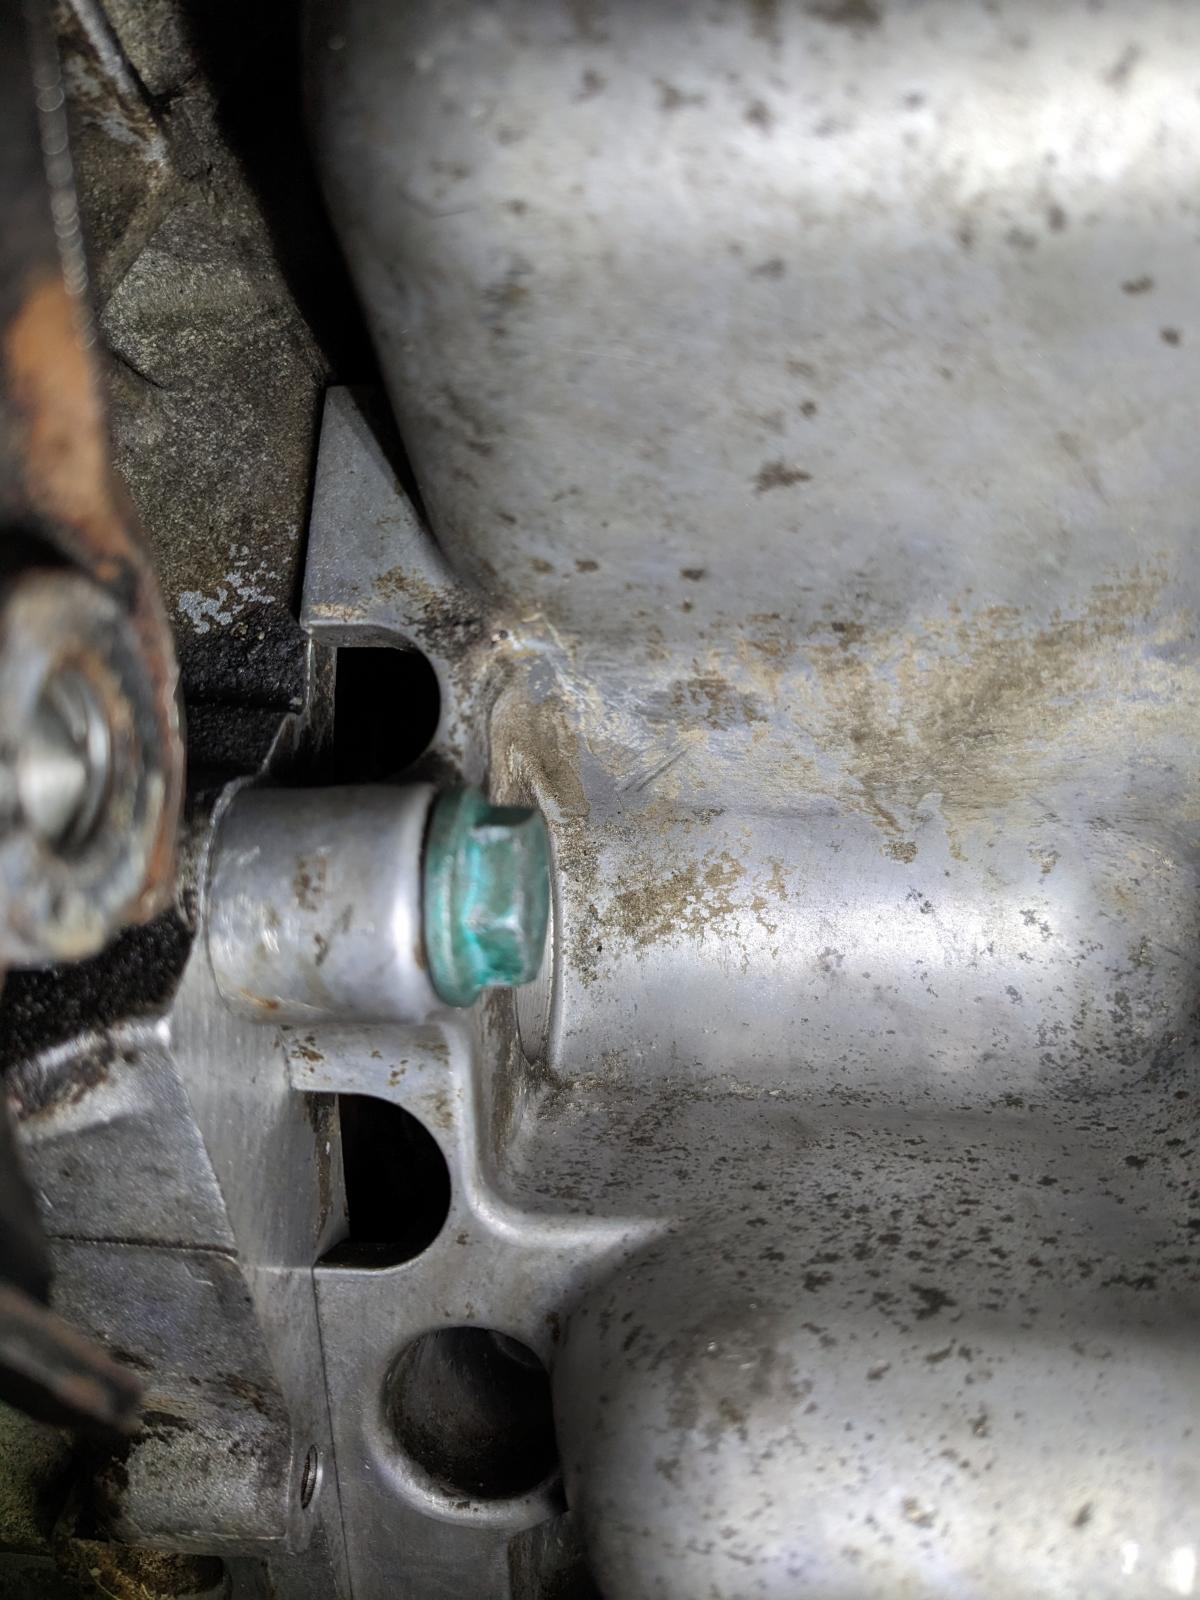
- There are some screws on the left-edge of the pan (transmission side) that are difficult to access. During installation, some can potentially fall into a small cavity on the side of the pan (between pan and trans) and you can only retrieve them by removing the pan.
- That's right, I dropped one of those screws and had to remove the pan, clean off the rtv, and re apply it. On the 2nd time, I placed a small piece of paper towel in the recessed allen head of the bolt to give the ball-end allen wrench better grip on it. The paper towel is easy to extract afterward if it doesn't come out with the end of the ball-end hex wrench.
- I installed the screws in opposing corners and then alternating sides of the pan. I continued by tightening bolts on alternating corners and sides to get a consistent "squeeze" on the seal across the surfaces until all were hand tight. ...and then finished by torqing alternate corner/side bolts to the 12nm spec.
I followed EuroTec's recommendation for sealant: Reinzosil. Applied a bead to the pan. I also squeezed a thin layer on four areas of the engine mating surface where there are seams just prior to install. Stick with the 2-3mm size bead recommendation in the shop manual. I exceeded 3mm in a few areas and didn't have a ton of around the pan but in hindsight could have used less.
So far so good. With the old bad seal, some internal oil was still draining down the inside of the block and slow dripping out the oil pan seam on the passenger front side. With the pan reinstalled, I'm waiting a few days to ensure the RTV is fully cured before adding oil but there are zero drips right now. Finger's crossed that I did everything correctly and the seal will be reliable for many years.
Pan installed with fresh seal

Here are the locations of the pesky bolts on the left-side (can't see bolt heads due to poor lighting but they're in there). Don't drop them into the side cavity.
 |
|

